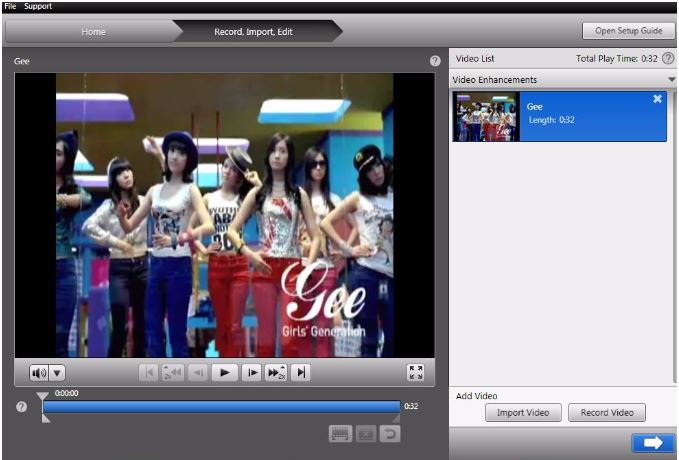
1. After importing your captured video, you may try to edit or add effects in it by clicking the Video Enhancements tab on the upper right part of the screen. Just click it and a drop down list and functions will appear. If you are done editing your video, proceed to the export process. To do that, just click the Blue right arrow on the lower right part of the screen
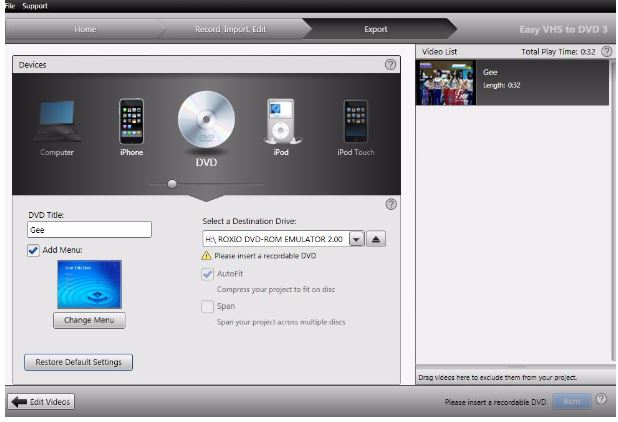
2. The default is to export the video into a DVD. There are other options available. Just click the icons aside from DVD. For this example, export the captured video into an MPEG-2 format. To do that, click Computer (Left side of DVD icon)
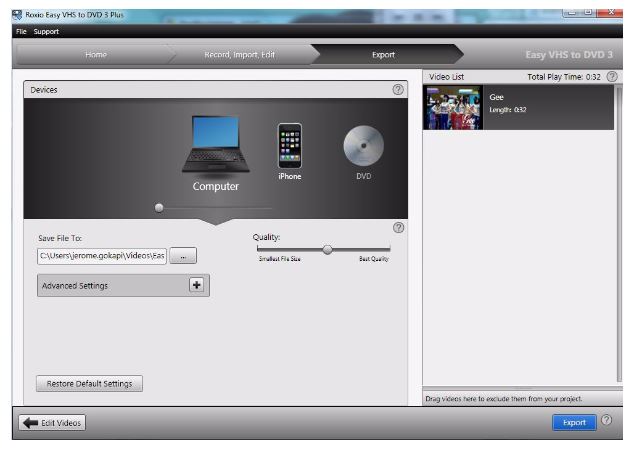
3. Export the captured video. The Advanced Settings lets you customize your exported video because it will be burned into its default settings if not customized. For this, click the “+” button on Advanced Settings.
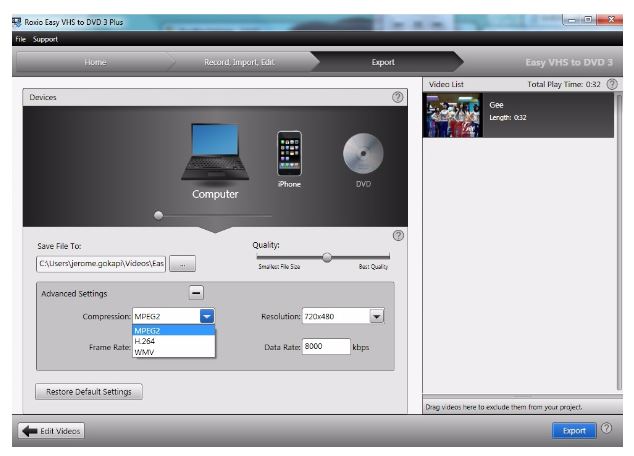
4. You can change the default settings by choosing its Compression (file format), Frame Rate, Resolution (Screen size) and Data Rate. Choose MPEG-2. (You can choose the other file type as long as you have a player which supports the format.
5. After customizing, just click the Export button on the lower right of the screen and you are good to go. After the export or converting is successful, search for the destination of the video and you will be able to play it on your computer.
You may also try the other options such as iPhone, Facebook, DIVX, etc.
Was this article helpful?
Tell us how we can improve it.